Thursday, October 30, 2014

Avocado Chickpea Salad


Avocado + chickpeas + lemon = heaven. Fresh, lemony salad packed with crispy garbanzo beans and creamy avocado. It's super simple and easy to make but it's so unbelievably delicious. Another great thing about it? It's healthy as well. Whoa. Now you have no excuse to not make this. Just before serving, season with some freshly cracked black pepper and enjoy this guilt-free vegetarian meal. Yum!

Avocado Chickpea Salad

1 can (240g drained) chickpeas
1 avocado, mashed
1 tbsp extra virgin olive oil (optional)
1/8 cup lemon juice
1 clove garlic, minced
Salt & pepper

1) In a food processor, blend together avocado, lemon juice, olive oil and garlic. Add salt. Taste and adjust the amount of salt according to your preference. Transfer to a bowl and mix in the drained chickpeas.

You may garnish it with some chopped fresh parsley.

Voila!

Recipe by collecting memories


Friday, October 24, 2014

No-Bake Peanut Butter Chickpea Cheesecake


I had this idea of making chickpea cheesecake for a long time. I've seen many bloggers using cashews, macadamias instead of cream cheese but I've never seen anyone making it with chickpeas. So, I decided to give it a try! It was so hard to decide what flavors to add. First, I wanted to make it all-chocolate, then I wanted to make it lemon-flavored. But finally, after many days (yes, many days. You see, I wanted it perfect) of considering which flavor would taste best, I decided to make it peanut butter-chocolate flavored (probably the best decision in my life). You probably wonder how it tasted. Well, it actually tasted AMAZING. Honestly, that's probably the best recipe I've created in a long time. Maybe even the best I've EVER created. Yup, I'm proud of myself! I wouldn't be if it was an ordinary pie, but it's completely healthy. That's the thing. I know, chickpeas in a pie sounds weird. But trust me, you can't taste them. AT ALL. It's smooth, creamy and doesn't taste healthy. You are not going to believe until you try it yourself. 
I am super super happy to share this recipe with you and hope you'll love it!! Now, stop reading and head yourself to the kitchen. Fast!!


No-Bake Peanut Butter Chickpea Cheesecake

Filling:
200g dry chickpeas, cooked and drained (or 2 cans of chickpeas)
125g peanut butter*
170g (1/2 cup) honey, melted 
50g coconut oil, melted
1/2 tsp salt
1 tsp vanilla extract

1 tbsp honey
1 tbsp cocoa powder

*I made my own by using 125 grams of peanuts. Roast them in a skillet until lightly brown. Cool and process in a food processor until smooth.

Crust:
2 cups (180g) quick-cooking oats, ground 
10g (1 1/2T) unsweetened cocoa powder
5 tbsp coconut oil
7 tbsp honey

1) To make the crust, mix together oats and cocoa. Melt coconut oil and honey, and mix into the oat/cocoa mixture. Press to the bottom of a pan with removable sides. Refrigerate while you make the filling.

2) To make the filling, place chickpeas in a food processor and process until completely smooth. Scrape sides of the food processor as needed. You need a very smooth mixture. Add peanut butter, honey, coconut oil, salt and vanilla extract. Process until smooth.

3) Pour approximately 2/3 of the mixture onto the crust. Refrigerate for 20 minutes.

4) Add 1 tablespoon of cocoa powder and 1 tablespoon of honey to the reserved filling mixture. Spread over the first layer. Refrigerate overnight. (I prefer keeping it in refrigerator all the time. Yum!)

Recipe by collecting memories


Monday, October 20, 2014

Oatmeal Fudge Bars


Okay, first of all, I have to warn you. I ate more than half of the pan. Just by myself. In one day. 
If you like me are living alone, I suggest stop reading this post. Because these oatmeal fudge bars are dangerous. SERIOUSLY. You CAN'T eat just one. Or two. 
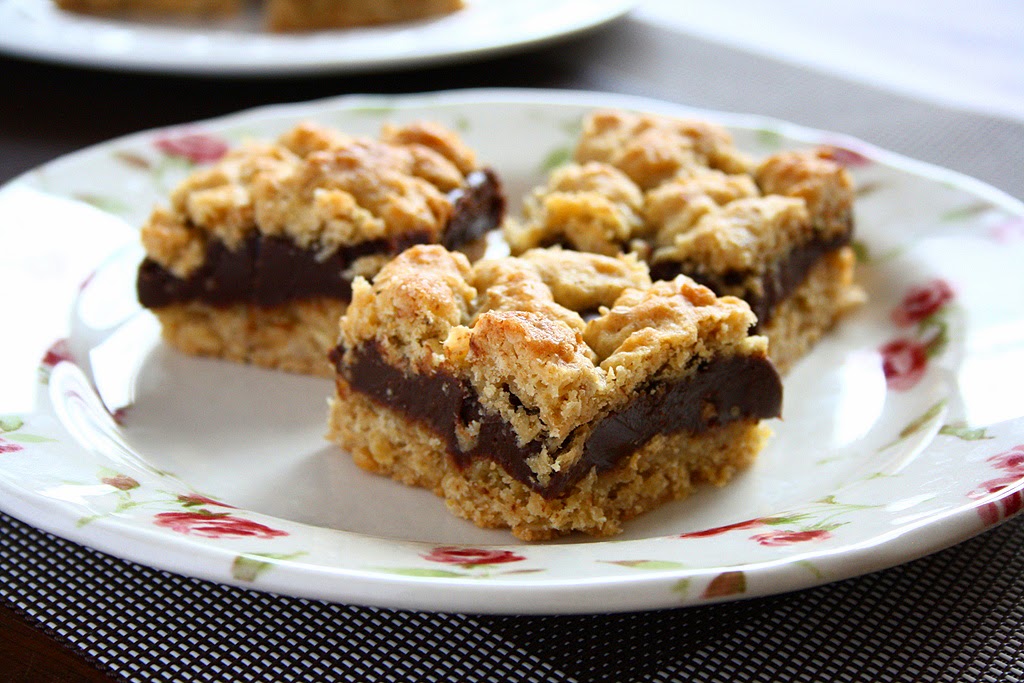
If you are still reading and planning to save this recipe, make sure you gather all your friends and family to share these bars so you don't eat the entire pan by yourself. 
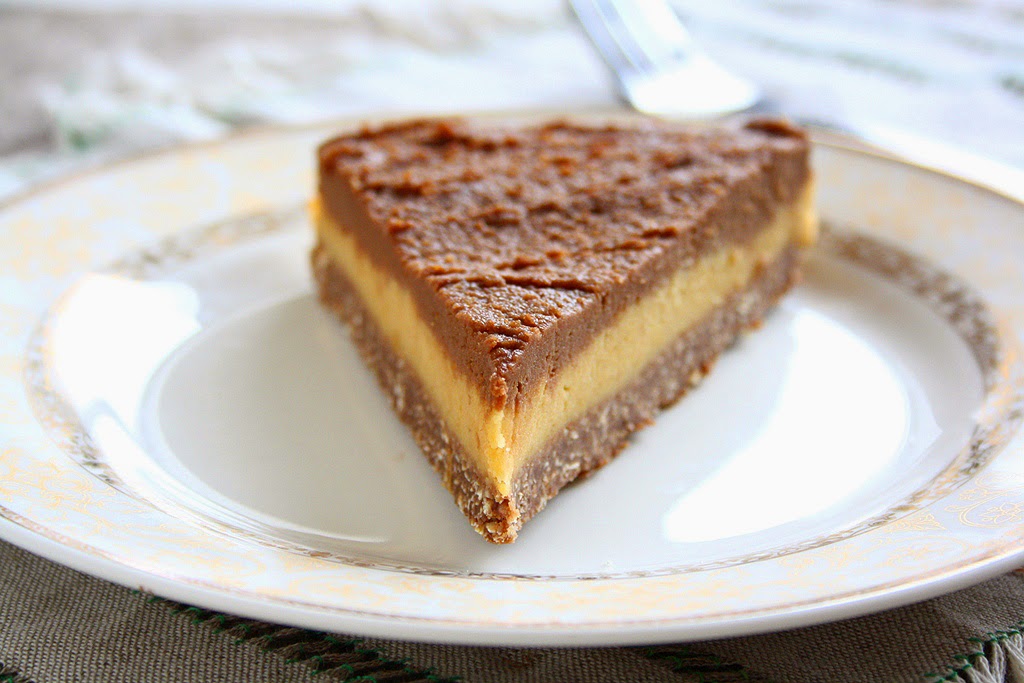
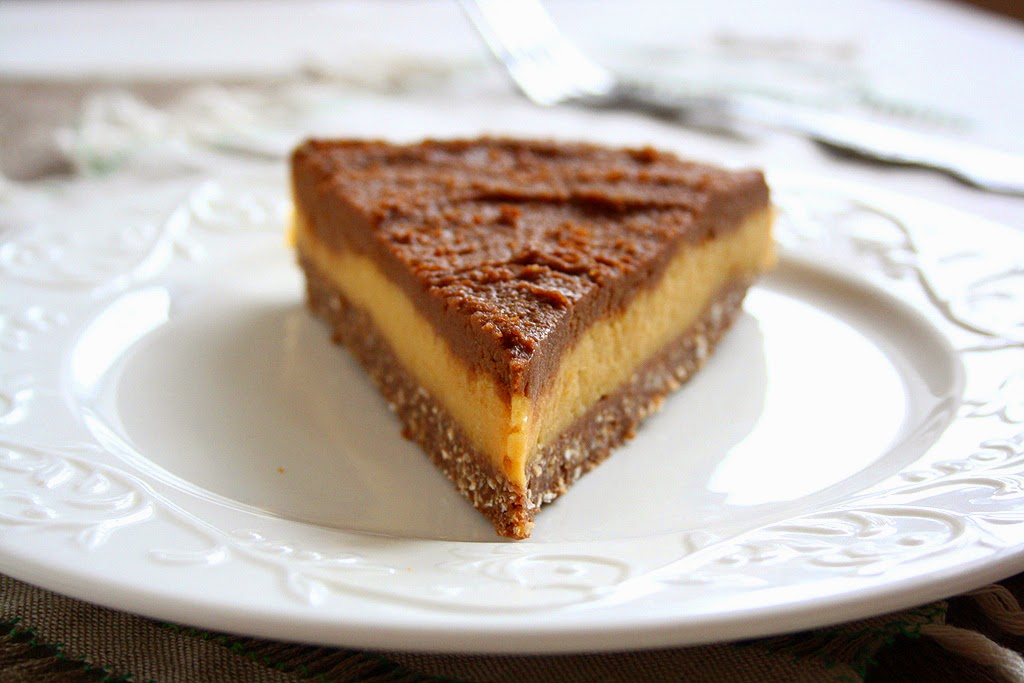
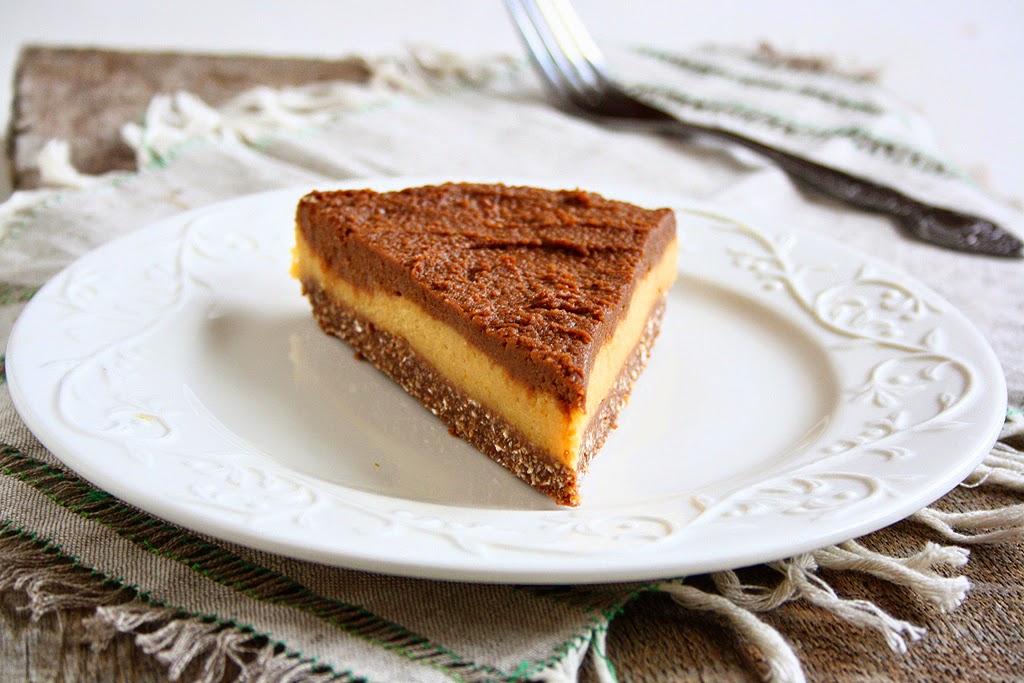
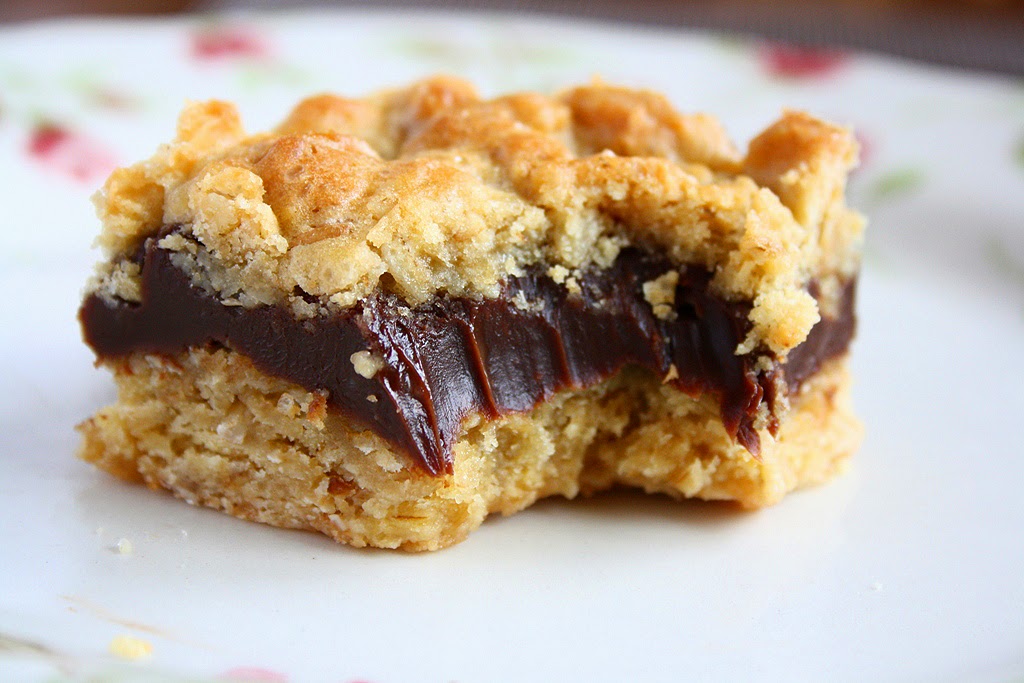
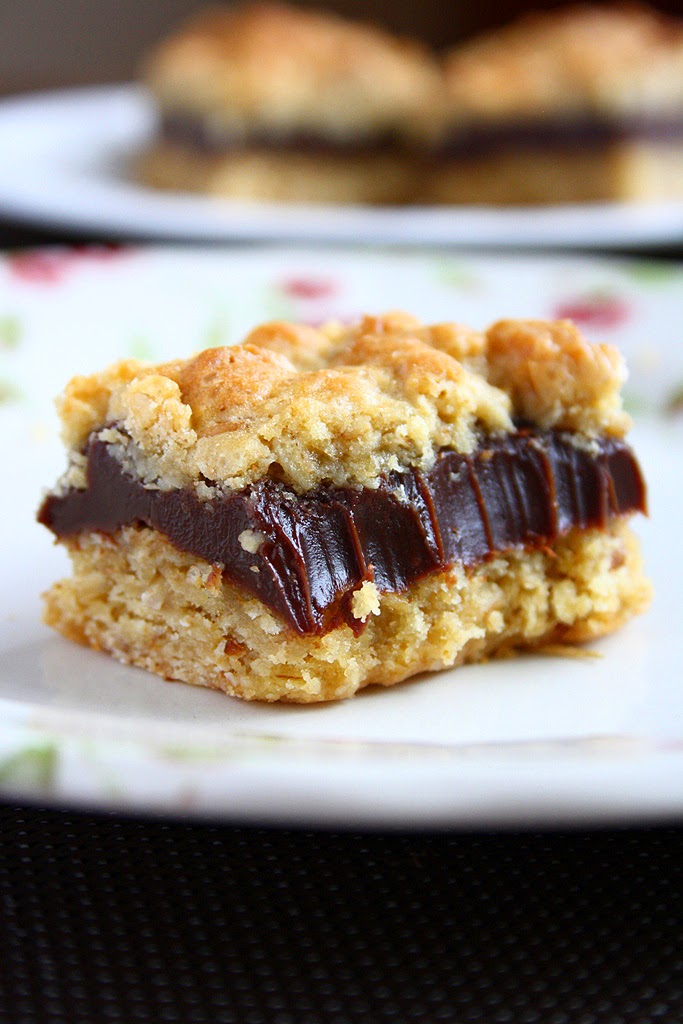
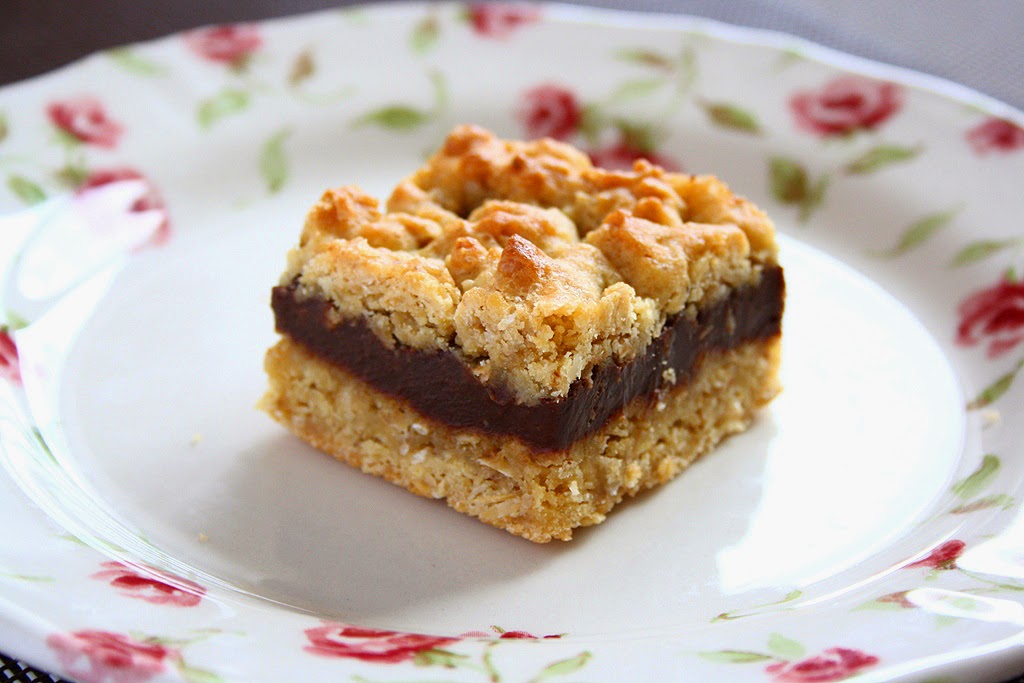
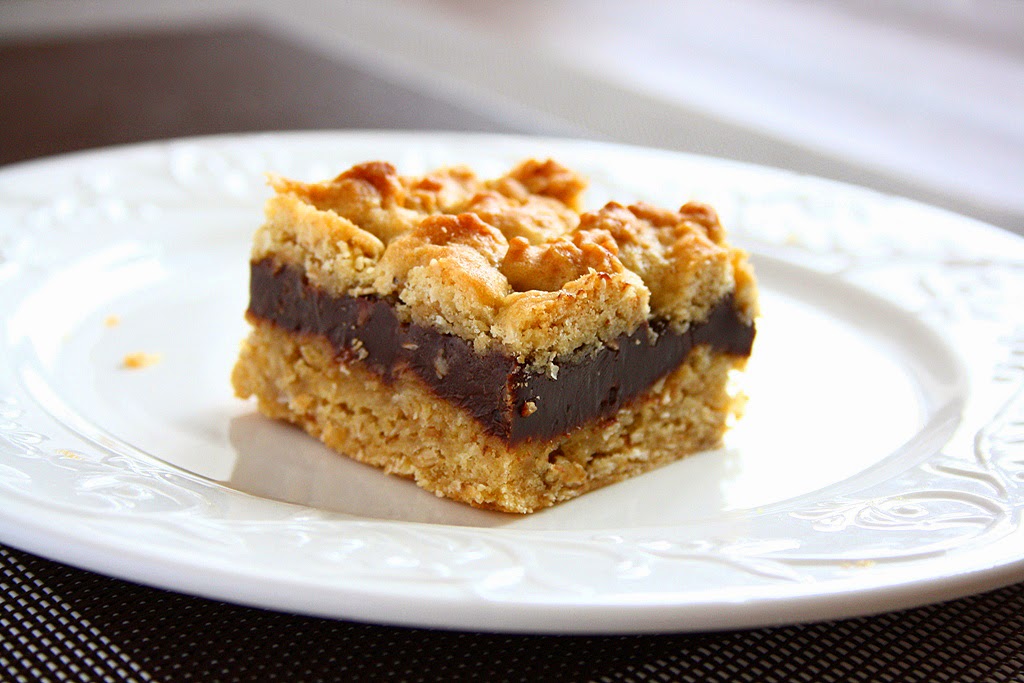
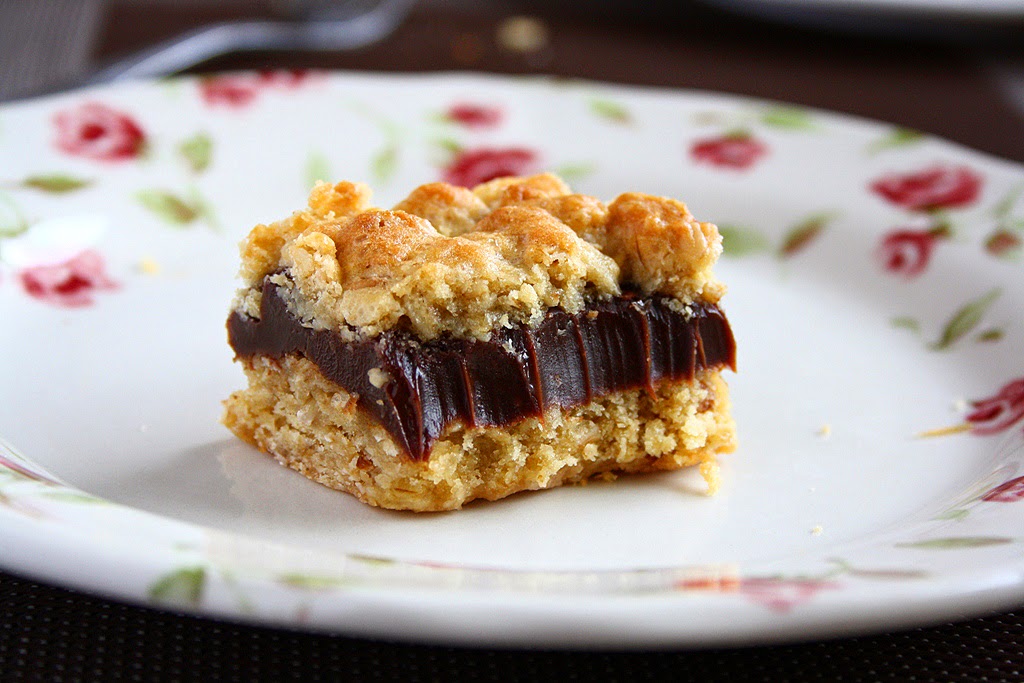
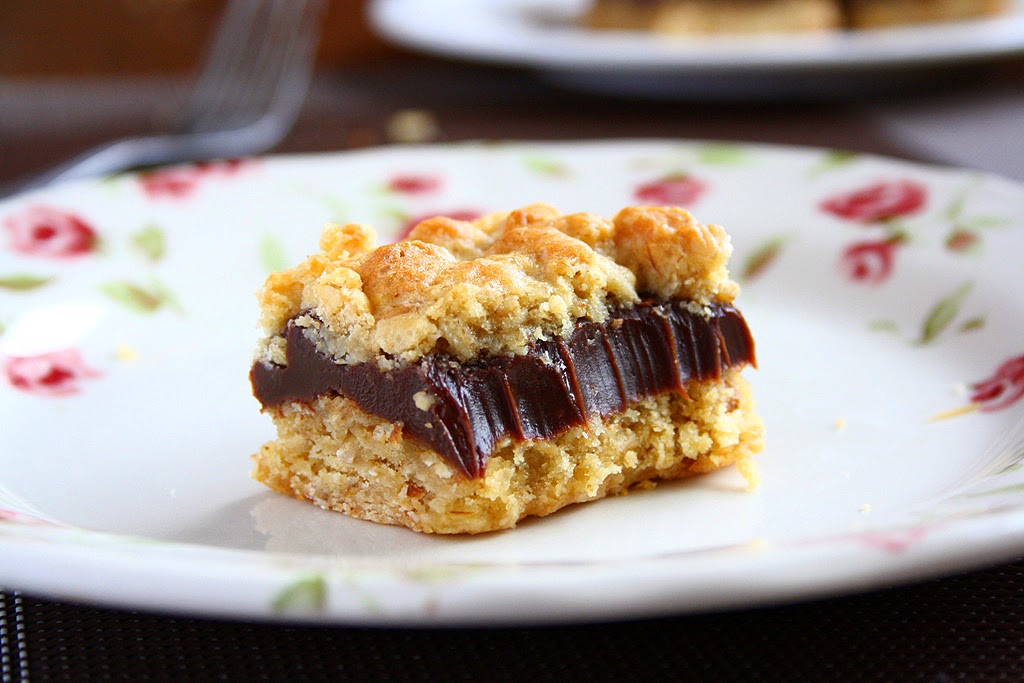
What makes them so irresistible? Well, there is a fudgy, chewy chocolate layer sandwiched between soft, buttery dough. And there's condensed milk in it which is one of my favourite things ever. In other words, I love everything about them. 
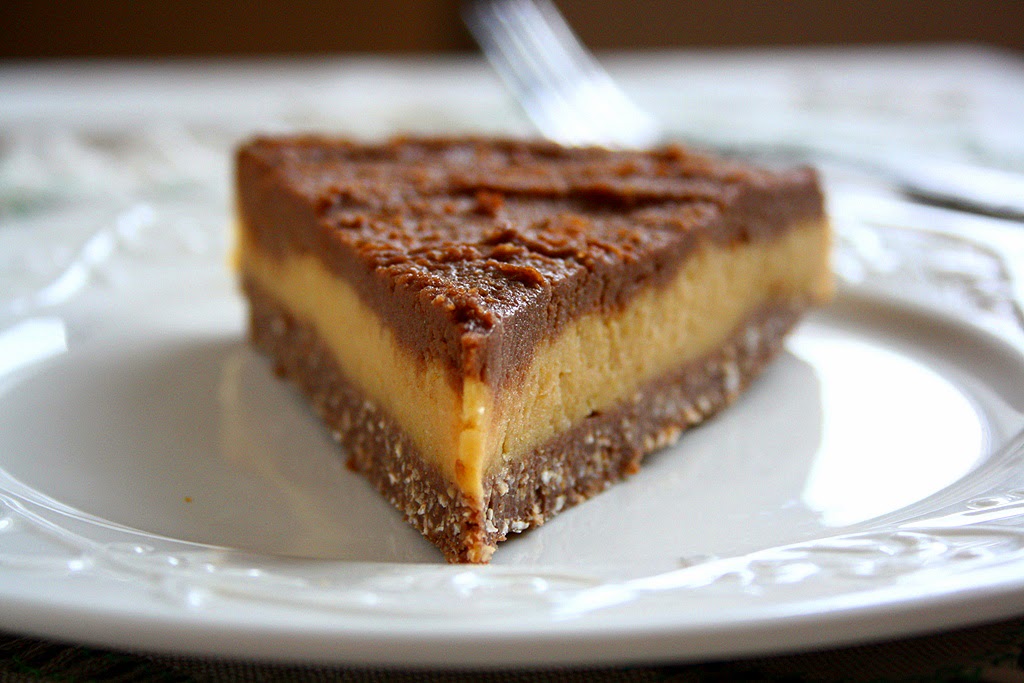
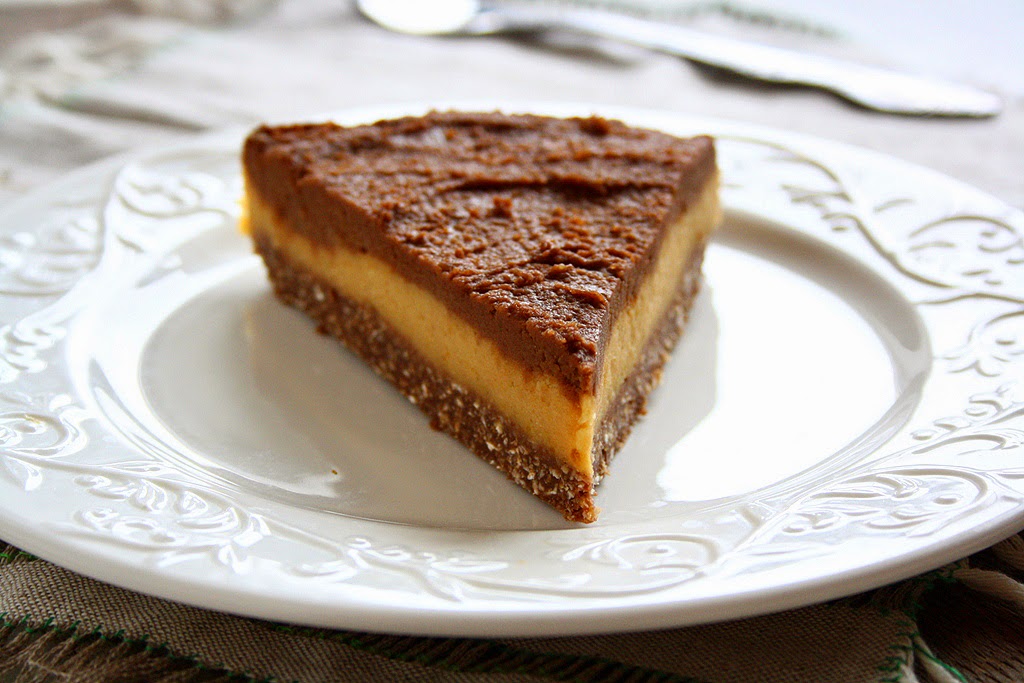
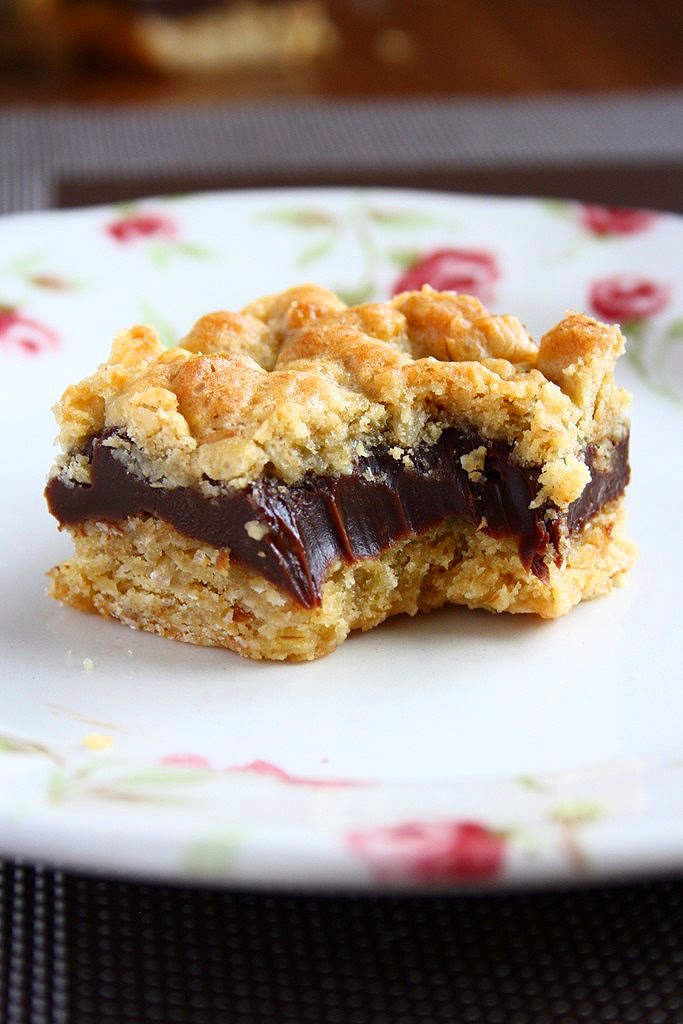
But there's one thing. As I've mentioned before, these little bars are quite dangerous. They're really rich so you shouldn't eat more than two at a time. Don't be like me. There are a little bit more calories than you'd prefer, but hey, sometimes you have to treat yourself. You deserve that.

Oatmeal Fudge Bars

113g (1/2 cup) butter, softened
200g (1 cup) light brown sugar
1 egg
1 tsp vanilla extract
156g(1 1/4 cup) flour
135g (1 1/2cup) quick-cooking oats 
1 tsp baking powder
1/4 tsp salt

Fudge layer:
200g (1/2 can) sweetened condensed milk
160g (1 cup) semisweet chocolate chips
15g (1 tbsp) butter
1 tsp vanilla extract

1) In a medium bowl, combine together the flour, baking powder and salt. Set aside.

2) With your mixer, beat butter and sugar until soft anf fluffy. Add egg amd beat until incorporated. Beat in the vanilla.

3) Stir in the dry ingredients and mix to combine. Add oats and stir just until combined.

4) Spread 3/4 of the dough in a greased 8x8 inch (20x20 cm) metal or silicon pan. Reserve the remaining dough for the topping. Refrigerate it while you prepare the fudge layer.

5) In a saucepan, melt butter. Add condensed milk and chocolate chips. Heat just until the chocolate is melted and the mixture is smooth. Remove from heat. Pour the warm fudge layer over the oat layer. Top with small bits of the reserved dough. 

6) Bake in a preheated oven (180C/350F) for 25-30 minutes or until lightly golden on top. Let cool completely and refrigerate overnight. Cut into squares and enjoy! (I like keeping mine in the fridge all the time).

Recipe adapted from here.


Thursday, October 16, 2014

Chickpea & Vegetable Skillet


A hearty, filling and healthy vegetable skillet is what I call a perfect dinner. This recipe is completely from scratch. You can use any veggies you have in your fridge, but this combination of carrots, zucchini and cauliflower is my favourite. The addition of chickpeas and spices makes it a perfect meal for a cold fall evening. And this makes quite a lot, definitely enough for three people. Or.. two?

Chickpea & Vegetable Skillet

2 tbsp oil
2 small onions (170g), finely chopped
4 cloves garlic, minced
1/2 chili pepper, finely chopped
1/2 tsp dried thyme
1 1/2 tsp smoked paprika
1/3 tsp turmeric
1/2 tsp salt
1/2 tsp dried oregano
1 carrot (120g), sliced
325g cauliflower, chopped into small florets
250g zucchini
190g leftover boiled potatoes, chopped
70g chickpeas, cooked
2 tomatoes (200g), chopped
1 tbsp fresh parsley, plus more for garnish

1) Heat oil in a heavy skillet. Add onions and cook, until softened and lightly browned, about 5 minutes. Add garlic and all the seasonings, and cook for another 2 minutes. Add carrots and cook, covered, for a few minutes. Add more oil, if needed.

2) Add zucchini and cook for 5 more minutes. Finally, add cauliflower and cook for another 2 minutes. 

3) When all the veggies are cooked, add potatoes, chickpeas and tomatoes. Stir-fry until tomatoes release liquid, just a few minutes. Garnish with some fresh parsley.

Recipe by collecting memories


Sunday, October 12, 2014

Double Chocolate Oatmeal


If you like having dessert for breakfast and at the same time try to eat healthy, congratulations! You clicked on the right recipe. This oatmeal is super gooey, creamy, milky, sweet, fudgy, wonderful. It's a chocolate lover's dream. And it's... healthy! It only takes 10 minutes to prepare it and I'm sure you already have all the ingredients in your pantry. It's a perfect way to start your morning.


Double Chocolate Oatmeal

1 cup (240ml) milk
1/2 cup (50g) old-fashioned rolled oats (do not use quick-cooking!)
1 tbsp (7g) unsweetened cocoa powder
1 1/2 tbsp (20g) light brown sugar
A few chocolate chips (optional)

1) In a heavy pot, bring milk to boil.

2) Once it starts to boil, add oats, cocoa powder and sugar. Cook uncovered over medium-low heat for about 10 minutes, stirring occasionally.

3) Sprinkle some chocolate chips on top. (Yep, you shouldn't but.. just a few.)

Serves 1

Recipe by collecting memories


Friday, October 10, 2014

Coconut Cashew Cheesecake


No, I'm not vegan and I'm not going to become vegan. But the more vegan desserts I make, the more I fall in love with this kind of food. It feels so good when you know that what you eat is good for you and every ingredient has important nutrients. I LOVED this cashew cheesecake! It doesn't taste like a traditional cheesecake, I'd say it tastes like a coconut ice-cream pie. Doesn't that sound good?? 
Just use unrefined coconut oil. Trust me, don't use refined stuff here.
It's best to serve it frozen. Keep it in the freezer and let thaw at room temperature for 5-10 minutes before serving. If you keep it in the fridge, it will have a mousse-like texture which is yummy too, but I prefer it frozen. Then it really tastes like ice cream. It Melts in your mouth! 

Coconut Cashew Cheesecake

Base:
50g dried coconut flakes
50g ground cashews
90g raisins

Filling:
2 1/2 cup (350g) cashews, soaked for 6-8 hours, drained
1/4 cup (60ml) unrefined coconut oil, melted
1/2 cup (150g) agave nectar
3/4 cup (180ml) coconut milk
1 tsp vanilla extract

1) To make the base, grind coconut, cashews and raisins in your food processor until the mixture looks sticky and comes into a ball. Press it into the bottom of a round baking pan (I used a 23cm pan with a removable bottom).

2) To make the filling, grind cashews in your food processor until you get a smooth creamy paste. Add the rest of the ingredients and blend until smooth. Pour onto the crust and freeze overnight.

3) Thaw at room temperature for 5-10 minutes and slice!

Recipe by collecting memories


Related Posts Plugin for WordPress, Blogger...